When it comes to pillows and signs, I often like a more traditional look for those projects, so I often end up picking out a full coverage background. One stitch that I find myself gravitating to time and time again is called Woven Trellis Stitch.
When it comes to pillows and signs, I often like a more traditional look for those projects, so I often end up picking out a full coverage background. One stitch that I find myself gravitating to time and time again is called Woven Trellis Stitch.
Woven Trellis looks good just about anywhere! I'm serious. I love the even, balanced look of it. Woven Trellis is a needlepoint stitch I find myself defaulting to when I'm out of ideas. I know you're going to love it as much as I do.
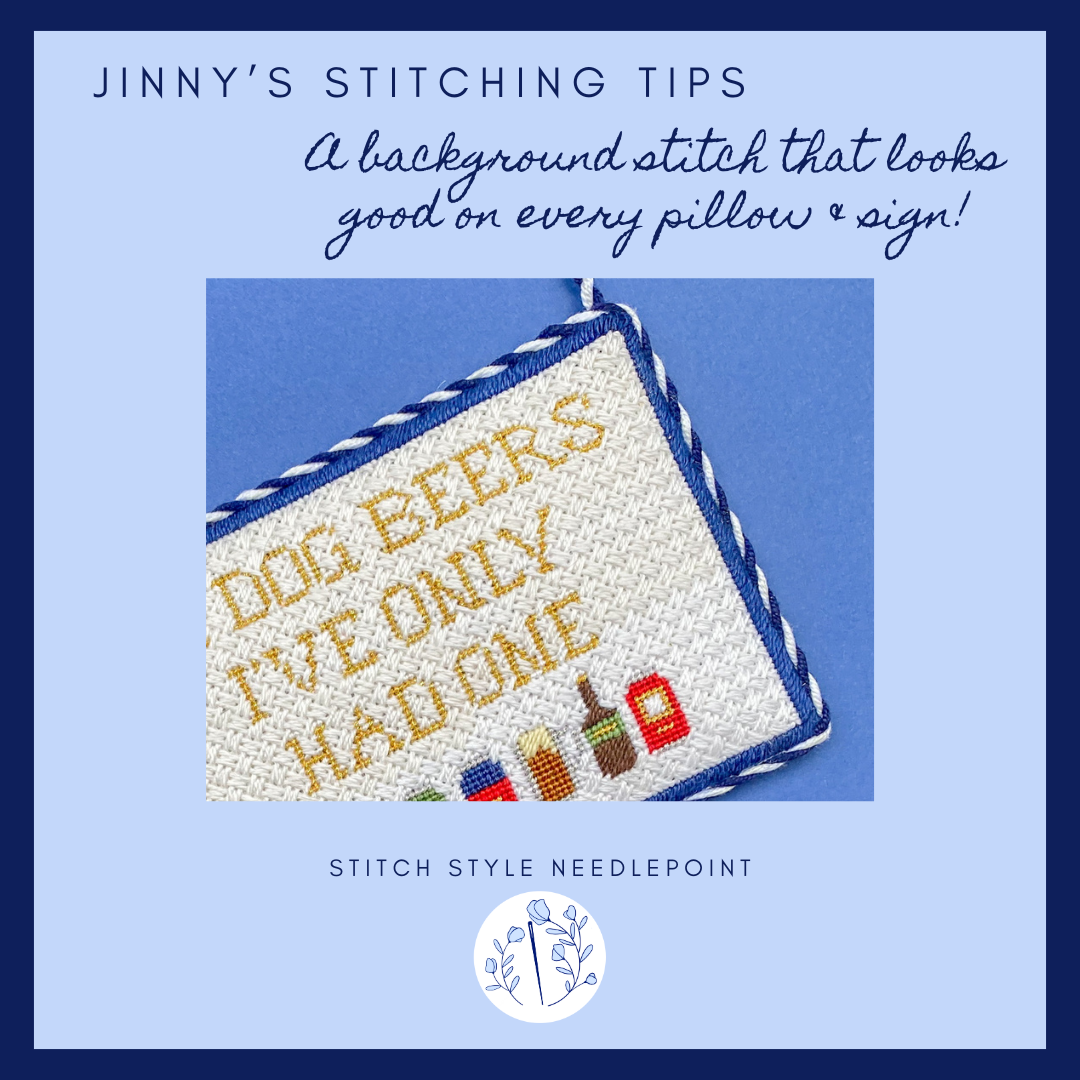
This stitch is pictured on our In Dog Beers Canvas, which you can purchase here.
When you get ready to do Woven Trellis Stitch, I want you to think about it being made up of groups of three stitches. The two outer stitches in this group span over three intersections on the diagonal and the inner one spans over two. 
For your next row, the direction of your groups of three stitches will span from lower right to upper left. As you stitch you will almost feel like you're weaving the stitches underneath the previous row. They fit very closely together.
Your third row will be an exact copy of your first.
Take a look at this more detailed diagram below. 
Try it out on your next canvas and let me know what you think!
Happy Stitching,
-Jinny xo